Jumper tables define how each class is scored in the ring. If you’re already competing, you’ve seen them listed in every prize list Table II, Section 2b, Table III, and so on. Understanding what those labels mean is key to preparing for your ride and having a winning strategy in the ring.
At its core, jumper scoring is straightforward: faults and time determine the outcome. However, what changes from class to class is how those two elements are applied. Some formats reward pure speed from the first fence, while others hold everything back for a jump-off. Some require a mid-round strategy shift.
That distinction matters. The table assigned to your class dictates how you manage pace, where you take risks, and how aggressively you ride your lines.
This guide breaks down the most commonly used jumper tables Table II (all sections), Table III, and Table IV so you can understand how each format works and how to adjust your ride.
What Are Jumper Tables?
Jumper tables are the scoring formats used in show jumping competitions. Each table defines how faults are counted, how time is factored in, and how the winner is determined.
Jumper tables are outlined in the rulebooks written by the USEF domestically and FEI internationally. Every class in a prize list includes a table designation, which tells you exactly how that class will run.
For experienced riders, that designation shapes strategy before the course walk even begins. For newer riders, it explains why two classes at the same show can ride completely differently, even over similar courses.
The key difference from hunters is consistency in scoring. Jumpers are objective: rails, refusals, and time penalties are recorded, and the lowest score wins. There is no evaluation of style or presentation.
Once you understand the table, you understand what the class is asking from you.
Table II: When Speed and Time Are Part of the Score
Table II is defined by classes where faults and time determine placement, with variations that introduce jump-offs or multiple phases depending on the section used.
It is the most commonly used format in jumper competition and includes several sections that change how the class is structured.
Table II, Section 1: Speed
This is a single-round class where the result is based entirely on faults and time. There’s no jump-off waiting at the end. What you produce in that first trip is what counts.
Because of that, the ride tends to be more forward from the start. You’re looking for efficient lines, quick decisions, and a pace that saves time without putting rails at risk. There’s no opportunity to regroup later, so the balance between speed and control has to be there from fence one.
Table II, Section 2a: Jump-Off (Return)
In this format, everyone completes the first round, and riders who go clear come back for a separate jump-off over a shortened course.
That separation changes the feel of the class. The first round is about producing a clean, controlled effort within the time allowed. Then you leave the ring, reset, and come back with a different plan entirely. The jump-off is where time becomes the deciding factor, and riders start taking calculated risks.
This is the format commonly used in Grand Prix classes.
Table II, Section 2b: Jump-Off (Immediate / Stay in the Ring)
The structure is similar to 2a, but with one key difference: if you go clear, you don’t leave the ring. You roll straight into the jump-off.
That transition happens quickly. You finish the course, hear the buzzer, and immediately shift from a measured first round into a more aggressive ride. There’s no time to rethink your plan, which means the jump-off has to be mapped out before you ever start the class.
Table II, Section 2c: Power and Speed (Clear to Continue)
This format runs as one continuous round, but it’s divided into two phases.
The first phase is judged on faults only. If you’re clear, you continue straight into the second phase, where time now becomes part of the score. If you have a rail early, the round ends there.
What that creates is a clear shift in approach. The opening part of the course needs to stay controlled and accurate, because that’s what earns you the chance to continue. Once you’re through, the pace picks up, and the focus turns to efficiency and time.
Table II, Section 2d: Power and Speed (Everyone Continues)
The course is still split into two phases, but in this case, everyone completes both.
Faults from the first phase carry forward, and the second phase still includes time as a factor. Nothing resets between them.
That changes the pressure slightly. A mistake early doesn’t end your round, but it does stay with you, which makes the second phase just as important. Riders still need to stay competitive all the way through, even if the first part doesn’t go perfectly.
Table III: Faults Converted to Seconds
In Table III, faults don’t show up as separate penalties. They’re added directly to your time.
A rail typically adds four seconds to your round, so the final result comes down to your total time after those adjustments. That shifts how decisions are made on the course. A tighter turn might save a second or two, but if it costs a rail, you’ve added more time than you gained.
You’ll see this format less often, but when it does, it changes how riders weigh risk versus efficiency.
Table IV: Optimum Times
Table IV still uses faults in the usual way, but instead of rewarding the fastest round, it focuses on how close you come to a set Optimum Time.
That target time is slightly below the Time Allowed, and the rider who lands closest to it wins the tiebreak.
It’s a different kind of ride. Going too fast can work against you just as much as going too slow, so the emphasis shifts to consistency, finding a pace that stays even from start to finish and managing your track without rushing it.
Riding the Tables: Strategy by Format
Once you know how a class is structured, the next step is adjusting how you ride it. The table doesn’t just determine how the class is scored. It shapes your pace, your decision-making, and where you can afford to take risks.
Two courses with the same fences can ride completely differently depending on the format. A line you leave alone in a first round might become a place to make up time in a jump-off. A forward pace in a speed class might be excessive in a two-phase class.
The goal is to match your ride to what the class is actually asking for, not just what the course looks like on paper.
Jump-Off Classes (Table II, Sections 2a and 2b)
These classes are decided in two parts: the round that gets you into the jump-off, and the one that determines the result.
The first round should feel organized and must maintain a consistent rhythm, make clear decisions at each fence, and avoid unnecessary risks. You’re setting up the opportunity to come back.
From there, everything shifts. The jump-off is where efficiency matters more than caution. Tight turns, inside lines, and how quickly your horse can rebalance between fences all come into play.
That plan needs to be clear before you start, especially in 2b, where there’s no break between rounds.
Speed Classes (Table II, Sec. 1)
In a speed class, the result is decided in a single round, which makes the course walk more deliberate.
Learn the track with a focus on where time can be gained without increasing the likelihood of faults. Some turns are worth taking, while others cost more than they save.
The pace needs to stay forward, but still controlled. A rail added to the clock is more costly than a slightly conservative track, so the goal is to stay efficient without over-riding the course.
Power-and-Speed (Table II, Sec. 2c & 2d)
These formats require two approaches within the same round, and the transition between them matters as much as either phase.
The first phase is about control. It’s about staying accurate, keeping the rhythm consistent, and setting yourself up to continue. In 2c, that means riding carefully enough to stay clear. In 2d, it means limiting faults so they don’t carry forward.
Once you move into the second phase, the ride changes. The pace picks up, and efficiency starts to factor into the result. The challenge is making that adjustment without disrupting the balance you established earlier in the round.
Course Walking & Trainer Communication
Everything starts with confirming the table.
From there, the course walk becomes more specific. Where do you stay conservative? Where can you be more aggressive? What changes if something doesn’t go to plan?
Those decisions should be made before you enter the ring, not while you’re in the middle of the course. Talking through those details with your trainer helps clarify the ride and removes hesitation when it matters.
Gear That Moves with Your Ride
When you're navigating a tight jump-off or shifting gears mid-power-and-speed, the last thing on your mind should be what you're wearing. Your breeches should move with you, not against you.
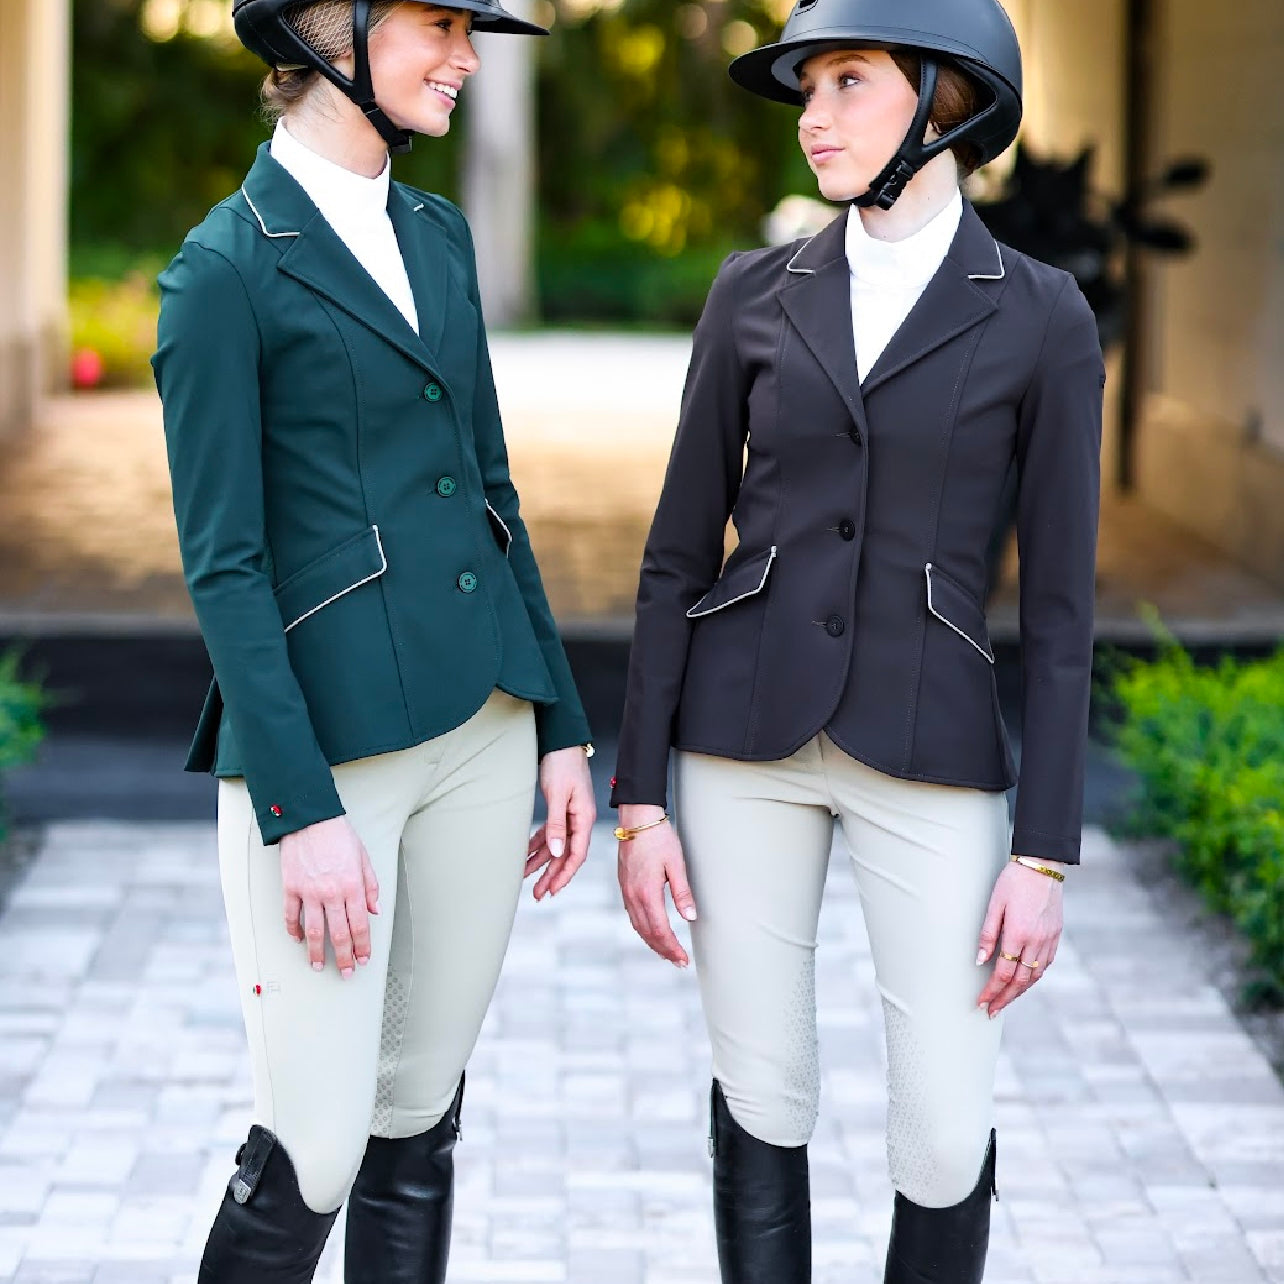
JODS carries competition breeches engineered for the demands of the show ring. Style and comfort combined with technical fabrics create a polished presentation that holds from warm-up through the final jump-off. Brands like For Horses and Equiline are built specifically for performance-focused riding, with technical fabrics that move intelligently with every stride and turn.
Pair that with a precision-cut competition shirt and show jacket. Everything comes together exactly the way it should in the ring.
Explore show-ready breeches and competition apparel at JODS →
Common Questions About Jumper Tables
What happens if two riders tie on both faults and time?
According to USEF rules, split placings are typically awarded, or an additional jump-off may be held at the judge's discretion.
How is Time Allowed calculated?
Time Allowed is calculated by dividing the course distance by the set speed, typically 350 meters per minute. The exact figure is printed in your prize list.
What's the difference between Time Allowed and Time Limit?
Time Allowed is the target, while the Time Limit is twice the Time Allowed. If you exceed the Time Limit, you're eliminated with no exceptions.
Do jumper tables differ between USEF and FEI shows?
The core tables are consistent, but FEI competitions may carry additional provisions. That’s why it’s always recommended to verify the specific rules for your competition before you walk the course.
Where Preparation Meets Performance
Understanding how your class is scored shapes every decision you make once you’re on course. Riders who know the table walk with a clearer plan, manage their pace more effectively, and make more deliberate choices under pressure.
That level of preparation extends beyond strategy. What you wear in the ring plays a direct role in how freely you can ride and how consistently you can perform.
An elite-level round requires gear that supports that performance. JODS offers competition apparel designed for the demands of the jumper ring. When your equipment works with you, your focus stays where it belongs: on the ride.
Explore our online collection to find show-ready apparel built for performance in the ring.